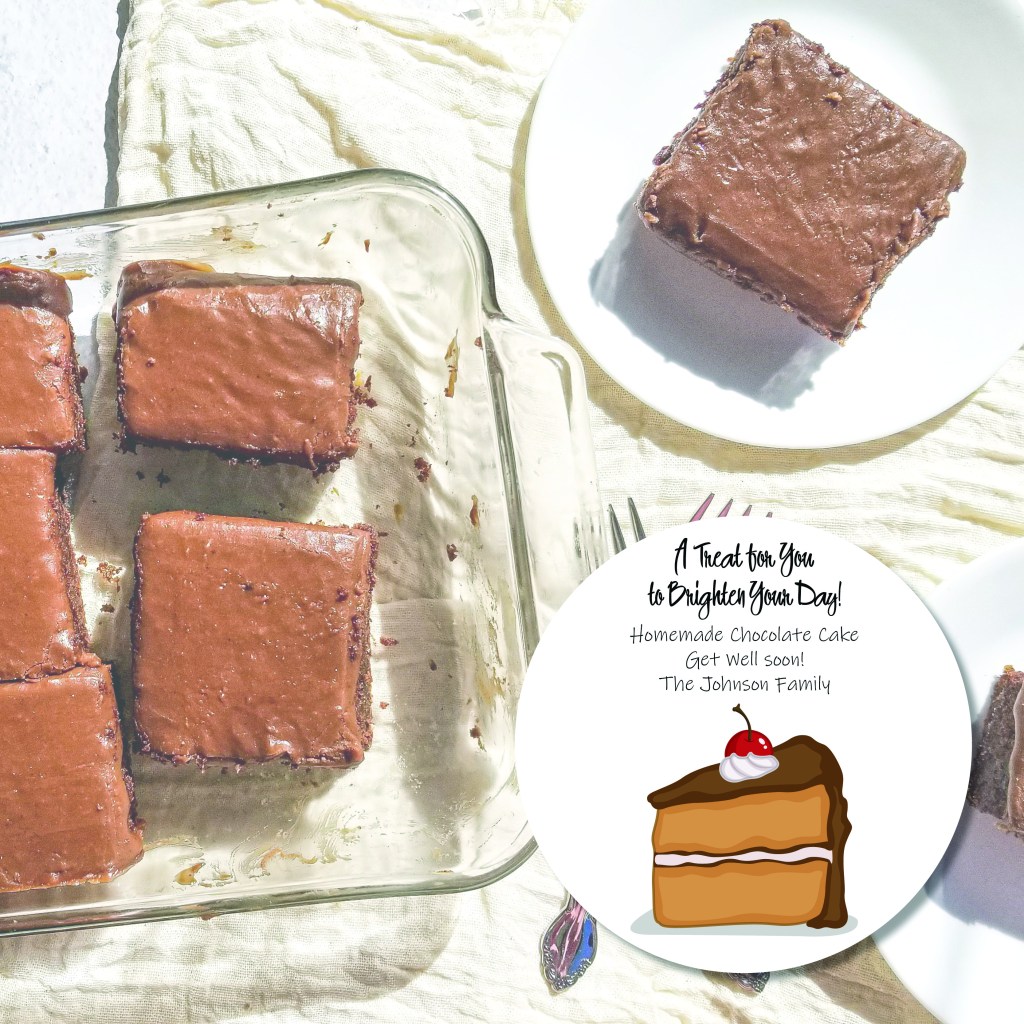
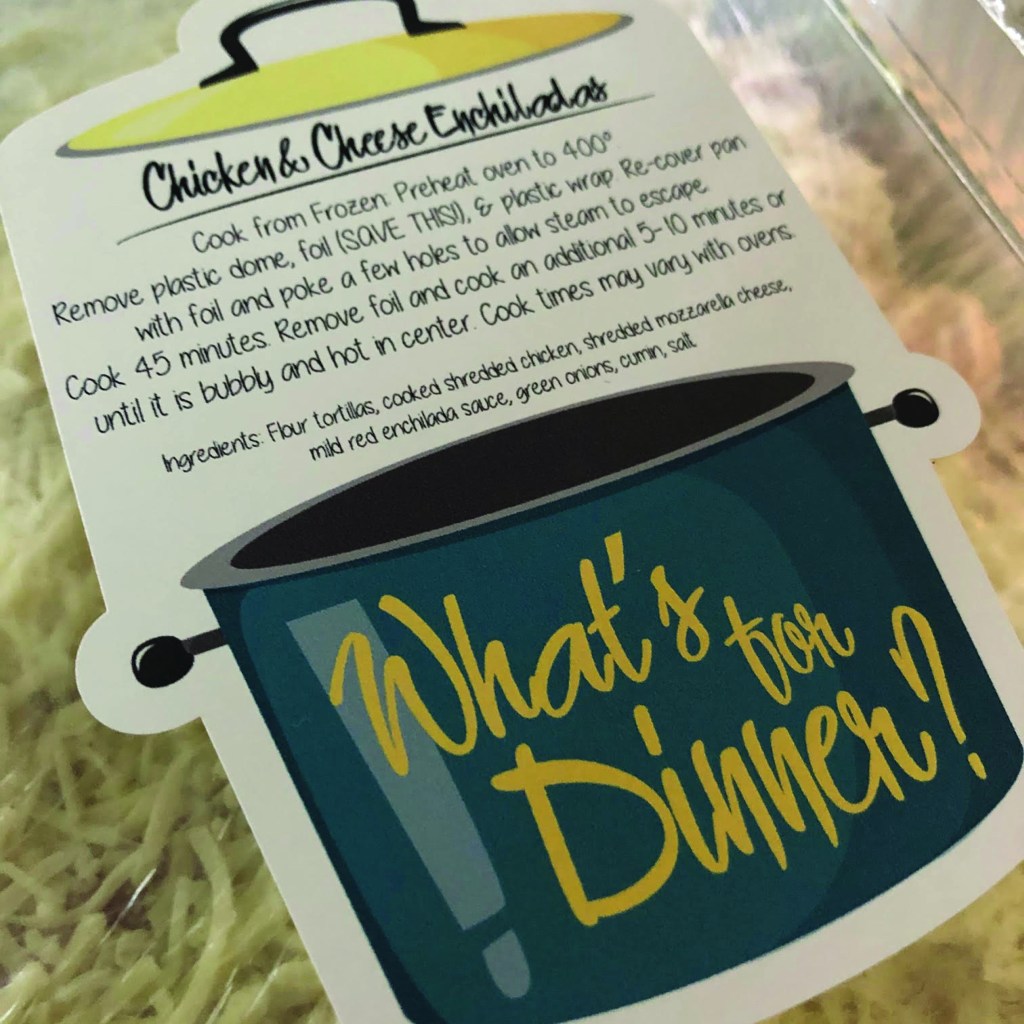
I love helping out friends and families in need with a hot meal. However, I am horrible about remembering to add the instructions. Anyone else? Yeah? Well, here ya go! Fun, fill-in-able stickers that you can print right at home and stick on whatever delicious meal you’re taking. Plus, these are an easy way to remember what meal is what when you prep a stack of them and stash them in the freezer.
Choose the dinner label if you’re dropping off a meal or the dessert label if you’re dropping off a sweet treat to make someone smile. Each label can be edited and customized on your home computer with Adobe Acrobat. Then you can print onto sticker paper or regular and attach to your dish! If you want to take the extra {easy} step, the meal label is sized to fit Avery 5″ x 3.5″ pre-cut rectangle labels; the dessert label will fit onto Avery 5″ round, pre-cut circles. For custom shape stickers, download the custom die cut templates and contact your local print shop or order here at Sharp Printing.
How’s that title for ya? Good? Great, because it’s true. I hate finding a photo on Pinterest and then having it lead me to some ridiculously extravagant this-is-not-in-my-budget-nor-will-it-ever-be blog. I’m a DIY girl. A Dollar Store|Aldi|Goodwill girl. And I have to say, even if I had an unrestrained budget, I wouldn’t spend it on home decor.
If you’re in mood to refresh your space without spending a load of cash then here is how you do it!
Step 1: Find a design aspect you adore.
So mine is subway tile. And there happened to be Peel & Stick subway tiles that Aldi had in their Aldi Finds one week. [That wall of subway tile? Peel & Stick, yo.] I actually didn’t love them at first and truly debated on getting them but they were AldiFinds cheap and there was a limited supply so I grabbed all the packages they had. Yup, I was that person that week. Sorrynotsorry.
Thrift shopping Rule 1: if you see it then, BUY IT because it will be gone later.
When I got home I was then stuck trying to figure out where I could use them. Since I had a specific square footage that I could cover, I had to be choosey. They wouldn’t cover the kitchen. And they could’ve worked in our master bath but eh, not a lot of people really see that bath except myself and my husband so the next best bet was the teensy tiny half bath. Yes- 3 feet by 6 feet TEENSY TINY. And it was so neglected and boring that it was perfect.
BUDGET FIND: Aldi Peel & Stick Wall tiles. Total: $50 to cover a 3′ x 4′ area
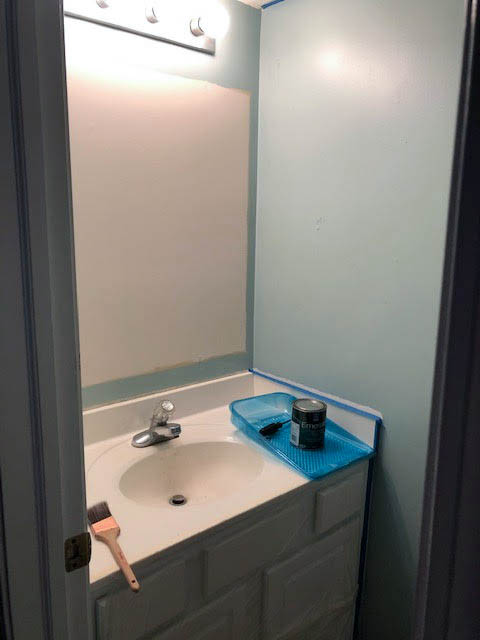
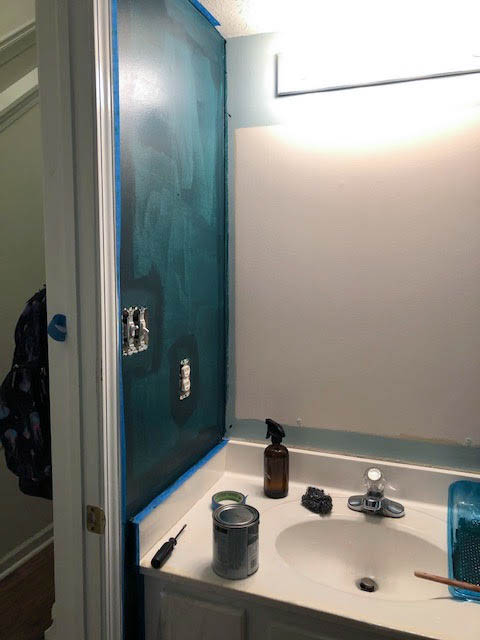
The start. Crystal knob builder faucet. Builder counters. Builder cabinet base. Builder mirror- removed to re-purpose somewhere else.
Step 2: Pick a color you love.
I am a creative. My styles ebb and flow like the ocean and you can probably find pieces of rustic farmhouse, kitsch, modern, traditional, casual and more throughout our house. I’d lump it all together as eclectic. But not in that “My grandma’s eclectic…” style. 99% of the art in our house is something I designed and then I just find things [dollar store, goodwill, thrift shop things] that go with it. For this bathroom – and I have no idea why – I was obsessed with these deep, dark, greenblack colors.
I usually dislike green in any form other than a plant.
But I started searching and pinning bathrooms with dark green walls and with the subway tiles that I had found, I realized that it could work. And it could work in a very fun way.
Even though this half bath is very small, the dark walls don’t make it ‘smaller’. They make it very luxe and rich and classic. My husband usually doesn’t really care one way or another on our home’s decor but as soon as I started he immediately commented on how much he liked it. Prior to this, it was a pretty basic soft-ocean-aqua similar to the SW Open Air. It had been that color for like, 12 years and I was over it. And guess who just happened to be having their 40% off sale? Sherwin-Williams.
I chose their Matte finish which came in the Emerald line of paints and I LOVE it. I want to swap out everything to this matte finish. It
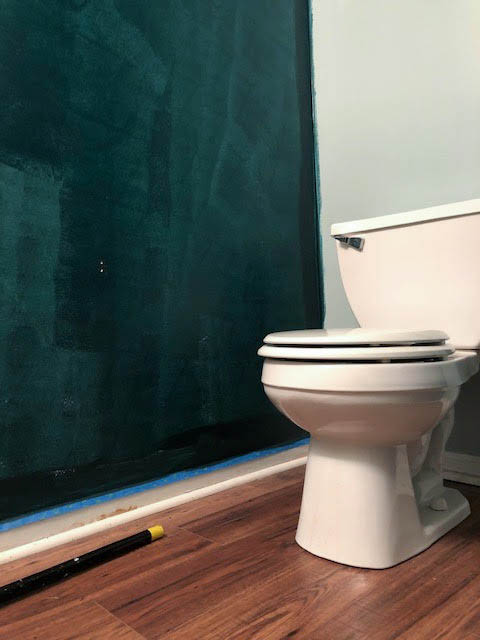
BUDGET FIND: 1 quart of Sherwin-Williams ‘Cascades’ paint in MatteFinish: $17, covered approx. 80 square feet with 3 coats.
Coat 1 of 3 begins…
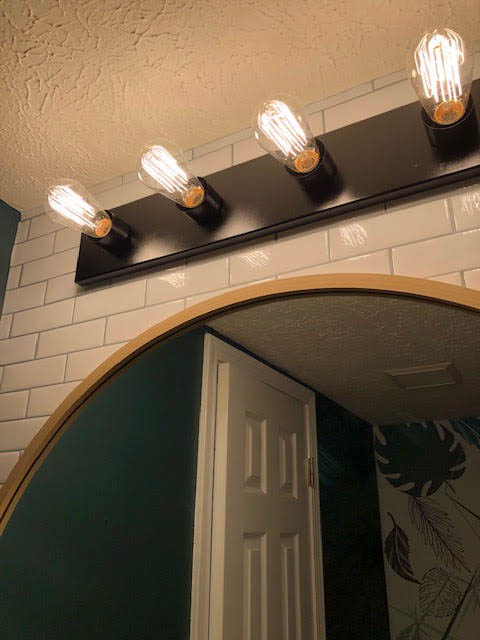
Step 3: Use what you already have.
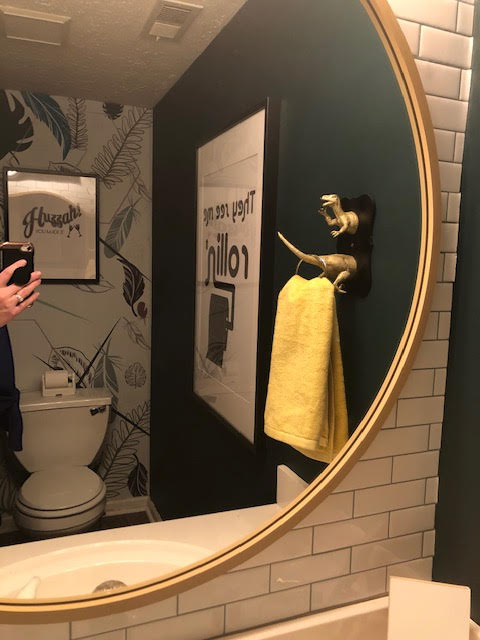
It’s that thing called ‘upcycling’. Instead of buying a brand new light fixture [and installing it or paying someone to install it] I knew that I could spray over the builder grade ball light strip and update it with fun vintage bulbs. I like how they give a nice warm glow to the space, making it very cozy and luxurious. The round mirror was my “splurge” piece at $100 from Amazon here. And yes, it took me 3 days to decide to order that mirror because I really didn’t want to spend $100. But it 100% makes the space fun and different from before and I love it and I wouldn’t have it any other way now. That old square builder grade mirror? Stay tuned- I have plans for that sucker!
I knew I wanted a pop of color or design or something on the wall behind the toilet to that would be reflected back by the mirror to make the room appear larger than it is. I will say, yes, I’m lucky I’m a graphic designer and can just design and print my own wallpaper. If you’re not creative in that way, it’s still very easy to get a sheet or two of custom designed wallpaper. In fact, you can get it right here. And if that’s not in the budget – which is still pretty low- paint a stencil over one wall or cover it in Dollar Store framed pictures or art. Anything to break up the dark walls and give dimension.
I had this fern and feather pattern floating around in my head for about a week and decided to add in a few simple gold bumble bees and hexagons. It works perfectly to balance out the dark walls and brings some movement to the space.
No matter the style, find something fun.
My something fun was this velociraptor towel hanger. I had seen this created before and knew that it would be a unique little twist on what is a pretty heavy bathroom style. And because we have a long running velociraptor joke in our family- it was perfect. Plus, true to my manifesting abilities, Dollar Tree had the perfectly sized velociraptor toys and even a lightweight craftwood backer for me to assemble it all. Follow here to find out more about how easy it was to make!
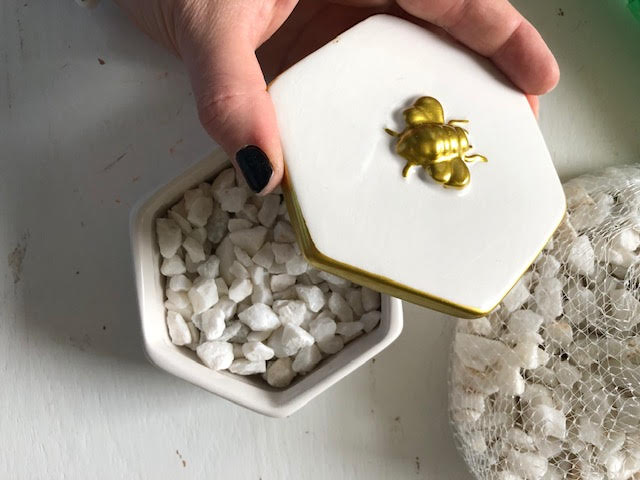
As I waltzed through Dollar Tree- guess what else they had? A white ceramic feather shaped soap holder and a hexagon ceramic box with gold trim and a gold BEE. Feathers, hexagons, bees, gold…You guys. It’s like Dollar Tree was on board with this bathroom too!
Dollar Tree Budget Find! So perfect.
Want to get notified when I have free art downloads, giveaways, and more?
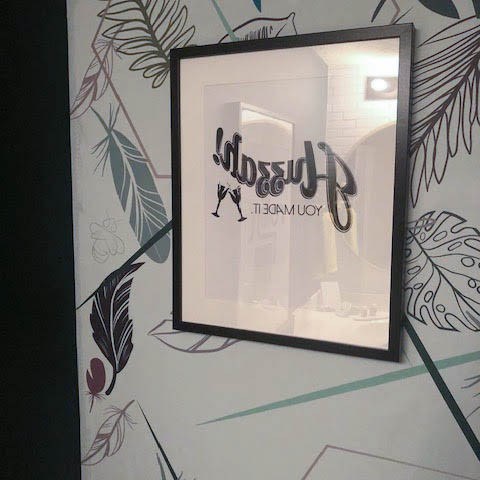
Custom artwork is not expensive.
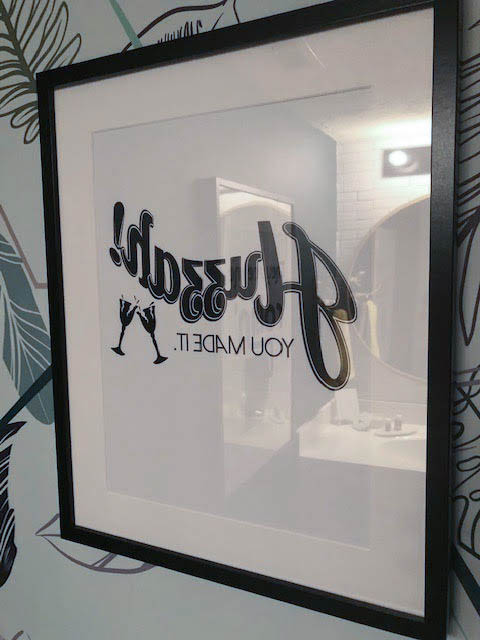
The black and white prints were, yes of course, designed by me. HOWEVER, again, you don’t have to be a designer! There are a billion posters and fun pieces out there being produced by small artisans for you to shop from! [bonus points if they’re local as well!]
Why backwards? When it’s reflected in the mirror, it’s turned around. Just another little fun piece to “entertain” in the bathroom.
BUDGET FIND: 3’x8′ [24sqft] panel of custom peel and stick wallpaper at Sharp Big Prints: $72
BUDGET FIND: Dollar Store Decor: Plastic Velociraptor figurine, wood plaque, feather soap dish, gold wire basket, ceramic gold bee box [Instant diffuser! Find that DIY coming soon!]: $1 each
BUDGET FIND TIP: Rustoleum Satin Finish spray paint in black and gloss finish spray paint in gold: $8 for both
BUDGET FIND: B&W graphic prints: $10. Want those? Download them for free below for a limited time!
BUDGET FIND: Black RIBBA frames from IKEA. 16×20, $10, 24×36, $20
Total Spent: $202
That is, however, WITHOUT the cost of the mirror. Which was not completely necessary. You can refresh without buying a mirror. But, I knew I wanted to move that big boxy builder square mirror into another use in our house and this round mirror was perfect. But $200 to go from that to that is pretty darn good, I’d say.
If you’ve been a follower of my other blog, Uncouth Herbalista, you may have read a bit about the daily life with my ADHD teenager.
Today, though, we’re delving into #lifehacks for the ADHD minded. This will be useful if you’ve had any of the following:
Every single assignment book or day planner ever owned by the ADHDer has been lost within the first week of obtaining it. Every. Single. One.
You’ve realized that day planners are crazy expensive. Particularly the ones that are super custom. I refuse to spend over $10 on something that will probably be buried under a pile of papers in a locker or desk.
ADD/ADHD specific planners are pretty much non-existent or too complex. Too complex = not gonna use it = lose it within first week. (See first bullet point)
So since the ADHD-centric day planners are either non-existent, crazy expensive or too complex, what do you do? Enter: make your own! Or have a designer make one. Or order this one here. I make it so easy.
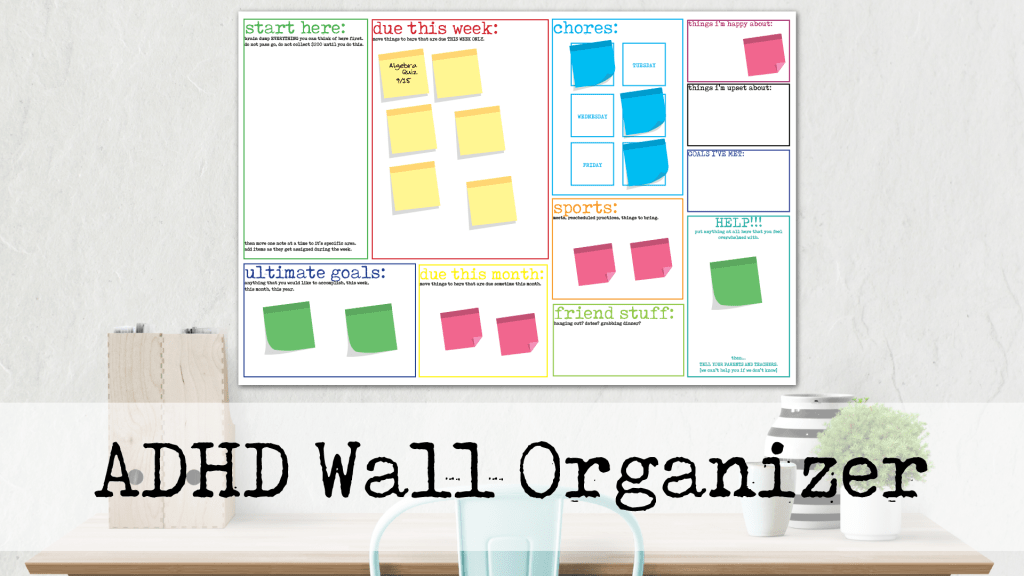
We’ve struggled for many, many years to find the best way for our son to get assignments written down, finished and turned in. [My goodness…Turn. It. In… for the love.] So this year I designed a board that chunked categories into manageable sections and thought we’d give it a try. A few customized tweaks like adding in sports goals and things he’s happy or upset about and we may have hit on a way that works. It’s large and visual so he can see his progress, what is still due and his goals on a daily basis.
This board is 38″ x 25″, laminated cardstock, divided into chunked categories. For him we have: Start here (brain dump station), Due this week, Due this month, Ultimate goals, Chores, Sports, Friend Stuff, Things I’m happy about, Things I’m upset about, Goals I’ve met and HELP! Want it? Download it for free right now below!
Each box is differentiated by color to attract the eye (ensure it’s looked at daily) and help organize the brain into sections. He uses either color coordinating post-its or basic yellow, he’s good with either, but your needs may differ. You choose what works best.
Utilizing post-its is a super easy way to write things down while being very specific yet very concise and they can be moved from Start Here to Due this week or anywhere else. But when he returns to school after this pandemic heyday of virtual hot mess that we’re calling school, we needed a way to get assignments from school to the board. So, I designed this quick and easy day planner to hold mini post-its so he can jot down his assignments in a few words and physically transfer that to his board when he gets home. All printed here for a few bucks.
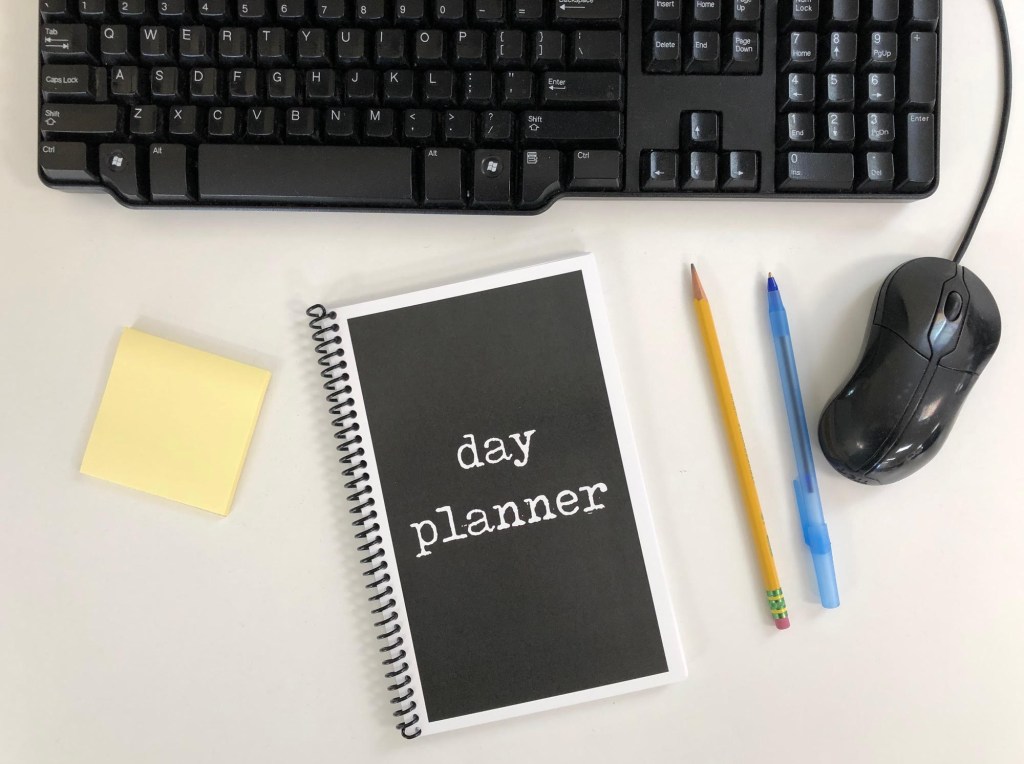
First item needed: A clean design. No flashy pictures, no distracting text that could may spin one’s brain off onto a tangent of who knows what. Just what it is, in black and white. “Day Planner”. It is what it is, right?
Second item needed: a clean, simple area to do exactly what needs to be done: WRITE DOWN ASSIGNMENTS. The inside cover consists of a place to adhere mini post-it pads to so they’re always within reach. No digging through bookbags or losing them whoknowswhere. The large area to place all the posts its allows for the randomness that is ADD/ADHD. Scribble it down, slap it in the box. Done. No checking boxes, no number systems, just write and stick. Two steps.
The few small lines at the bottom are there for anything that may pop up: questions, appointments, or just a note that says “I need help in…” wherever.
Third item needed: pages that may be used on whatever day they need to be used. Our son had a bad habit of just flipping to any part of his planner and writing things down. So he would have assignments written on dates that they weren’t even due! This All Month/All Day calendar at the top of each page can easily be circled for any day of any month. Then, if a day is missed, an entire page of the planner is not wasted by having a specific date pre-printed on it.
Need this planner too? Download the files below and then click here to get it printed! There are two files: one is the cover and one is the inside pages. This planner is 45 pages, 2 up, front and back, 11″ x 8.5″ with room for a 1/2″ coil binding.
I don’t blog a lot about design. If you’d like, I can, but most people I’ve spoken with are more interested in self-help, food or DIY home decor blogs than anything. If you’d like to read up on some of my writing for Uncouth Herbalista, well, hop on over there then.
If you’d like to hear me talk about color theory, print production, why everyone needs to understand what bleeds are and how to use them correctly or my days spent as a Scenic Designer hand painting enormous backdrops, faux thrones and carving a life size horse out of styrofoam, then let’s grab a coffee and chat.


